Welcome To Our Holiday Door
Hidey Ho Stampers,
Sale Sale Sale on the Website – Check it out!!!!
Click here to see all that is on sale!
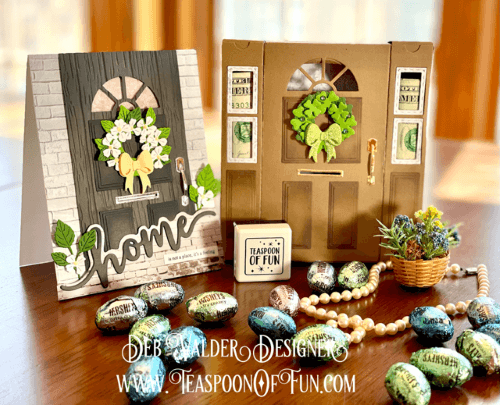
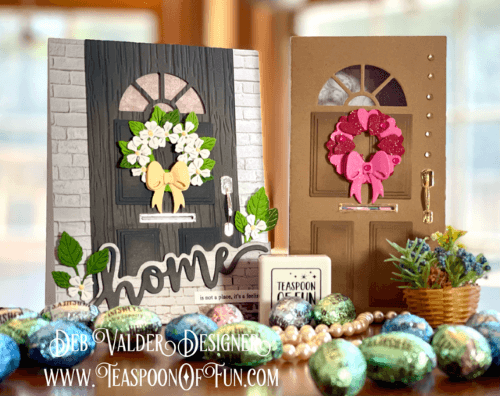
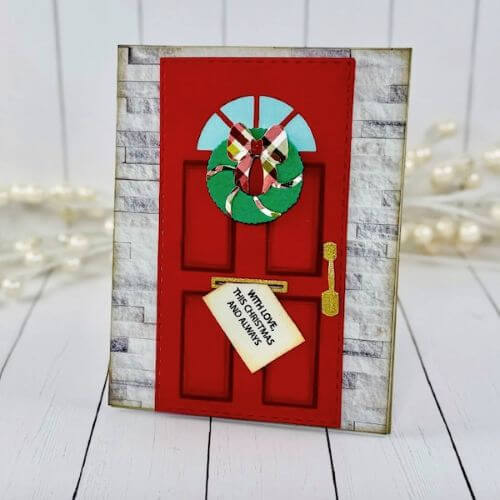
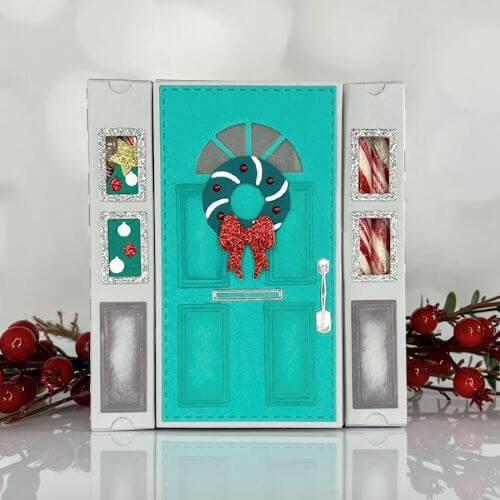
November 4, 2025. Today Teaspoon of Fun is bringing you some warm fuzzies with a new 3D Door Die. I repurposed the die and made it into a regular A2 card (but make sure you check out the whole blog post today because I do show you how to make it a 3D door also). I love taking things that I have and modifying them! This came out GORGEOUS! This door can be adapted to any occasion, any season and any holiday. SOOOO VERSATILE!
Head on over to Teaspoon of Fun for all your paper crafting needs
and share this site with your friends!
Let’s take a look at what I picked for you today…
Sale Sale Sale on the Website – Check it out!!!!
Click here to see all that is on sale!

3D Deck Planks Embossing Folder
Crystal Drops – I used Gloss Buttermilk
Hybrid Ink Pad – I used Black
Distress Oxide Ink – Black Soot
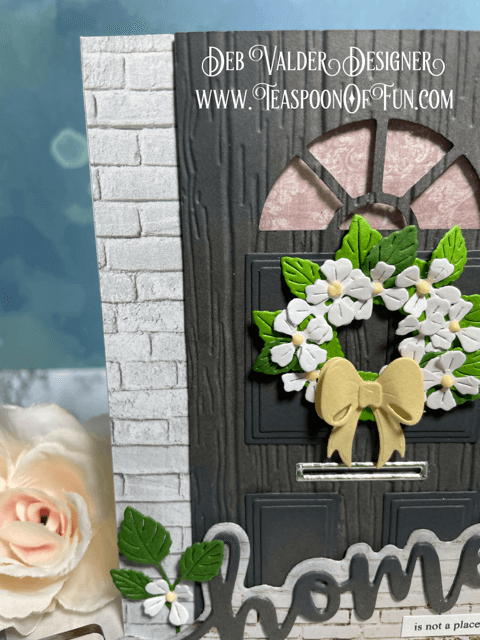
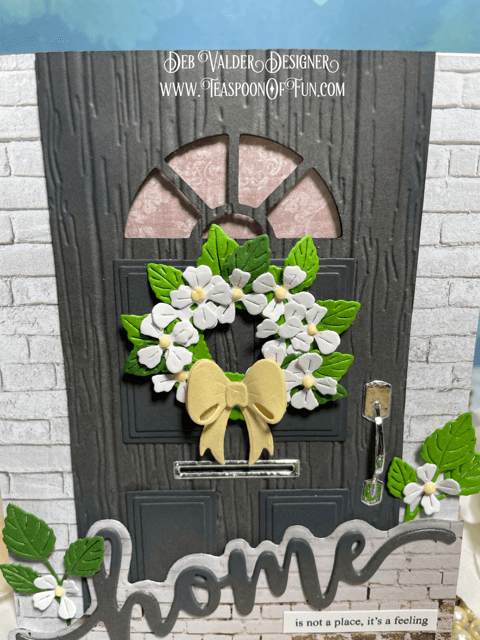
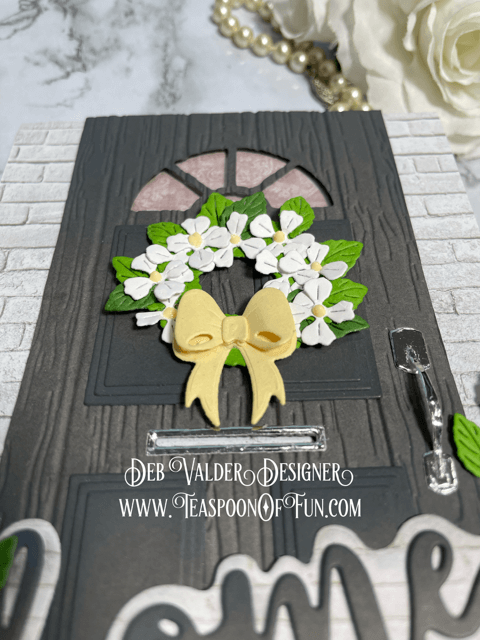
Such a fun twist on the 3D Door Box Die. Instead of making it a 3D card, I made it a regular A2 sized card. It’s so pretty. I cut a piece of the Brick Texture 6 x 6 Paper Pad down to 4 1/4″ x 5 1/2″ and adhered that to the card base using the EZ Grand Tape Runner.
The door:
- Cut out the door out from the 3D Door Box Die (cut off the long and short tabs so you just have the door).
- Cut out the window on the top. I like to place the top of the window down around 1/2″ from the top of the door.
- Cut out the mail slot at this point also.
- Now run it through the 3D Deck Planks Embossing Folder to make it look like the door is made of wood. I used dark gray card stock and burnished the edges using Distress Oxide Ink (Black Soot) and a Mini Ink Blending Brushes.
- Cut a piece of the Baroque 6 x 6 Paper Pad measuring 2 1/4″ x 2 1/4″. Adhere that to the upper part of the card base using the EZ Grand Tape Runner.
- Cut a piece of Acetate Sheets that measures 2 1/4″ x 2 1/4″ and adhere that to the back of the door.
- Adhere the door to the brick wall over the Baroque designer paper using the Thin White Foam Squares. You want it to be raised a little from the card base.
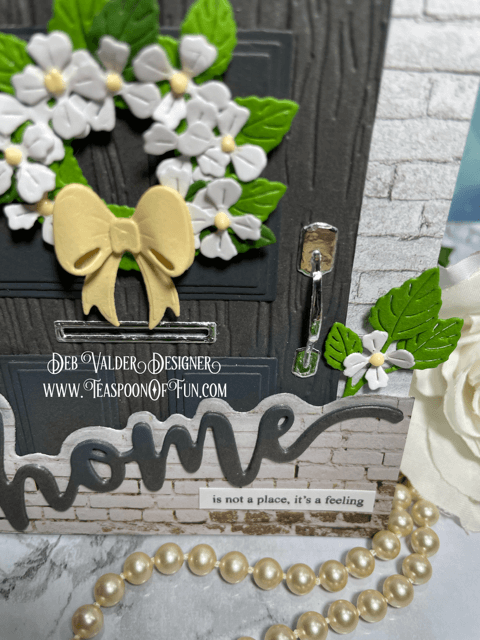
- To finish off the door, add four panels (two above the mail slot and two below the mail slot). I burnished the edges as I did above before I put them on the door. These were put together using the Precision Glue Press.
- Cut the mail slot (outer piece) and the door handle out of Silver Mirror Paper and add them to the door using the Precision Glue Press .
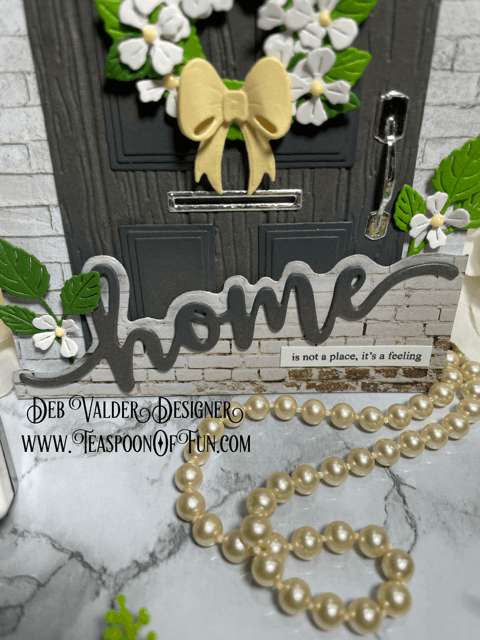
I cut the Home Edger Die out of the other side of the Brick Texture paper that I used for the card base (the back part of the die called the silhouette). I just love these two new paper pads we just got into the shop. GORGEOUS! Anyway cut one of those (I did it at an angle I thought it looked really good) and pop both ends using Regular White Foam Squares (I didn’t pop the middle only the ends because you have all that bulk in the middle)!
Cut out the “home” die three times and layer them using the Precision Glue Press. Then adhere them to the silhouette also using the Precision Glue Press. Stamp the sentiment from the Home Builder Stamp Set using the Stampwheel and Black Hybrid Ink. Add that to the bottom of the card.
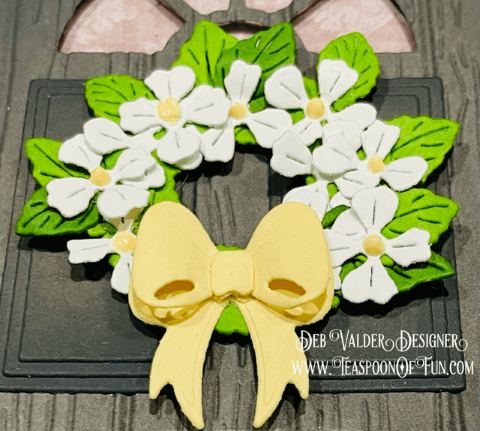
Cut one of the wreaths and one of the bows from the 3D Door Box Die (this set is FILLED with amazing accessories). Cut as many leaves and flowers from the Layered Impatiens Die Set as you think you would like to decorate the wreath and adhere them to the wreath base. Attach the bow to the bottom of the wreath. Now add the wreath to the door using Thin White Foam Squares.
Do you see the dimension on the wreath and bow? I curled the flowers and bow using the Retractable Pick. I use that instead of the Crease Tool because they are so small.
I added a few leaves and flowers to both sides of the door. To finish off the flowers, I used the Crystal Drops (Gloss Buttermilk). Have you looked at our line of Nuvo drops? We have glossy, glitter, glow in the dark, vintage, metallic and so many more types AND THEY ARE ALL ON SALE!!! Make sure you check them out. They last forever and come in all different colors. I LOVE THEM!
Add your card to one of our A2 White or A2 Cream Envelopes and mail it off to your dear friend.
Welcome To Our Holiday Door
And now let’s show you a few variations with the 3D door!!!!
First let’s take a look at this quick “HOW TO” video first….
CLICK HERE or on the picture above to see this quick video on how to put your door together.
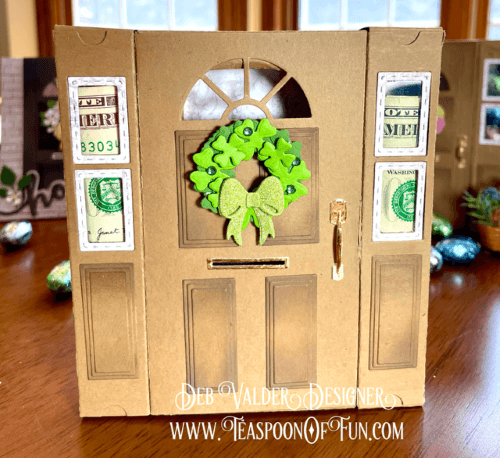
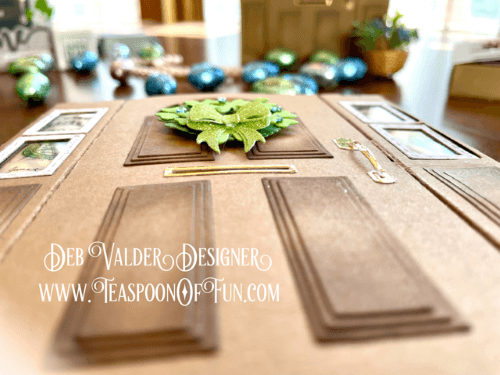
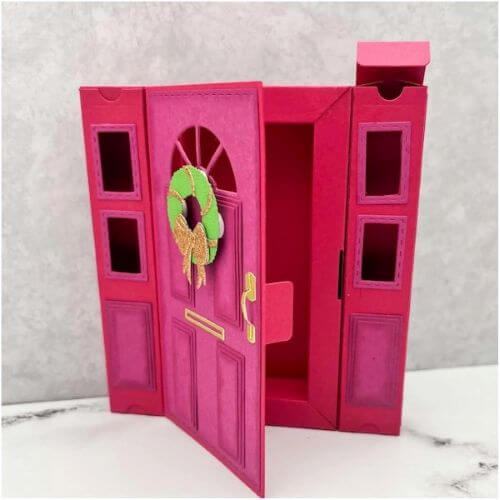
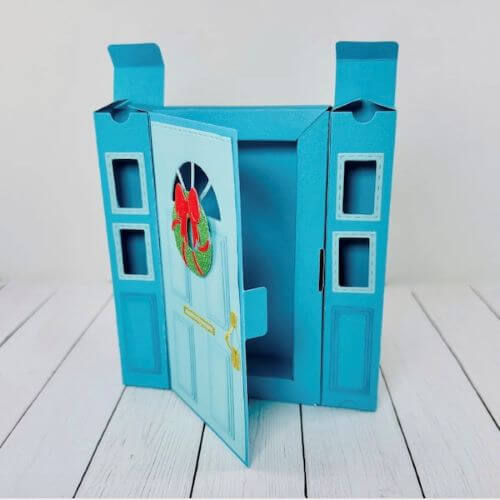
St. Patrick’s Day Version
Malarkey Word Die Set (for the Shamrocks)
1/8″ Premium Double Sided Tearable Sticky Tape

3D Door Box Die – 22 dies included in this set
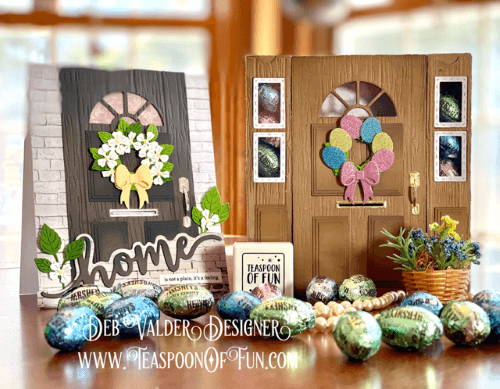
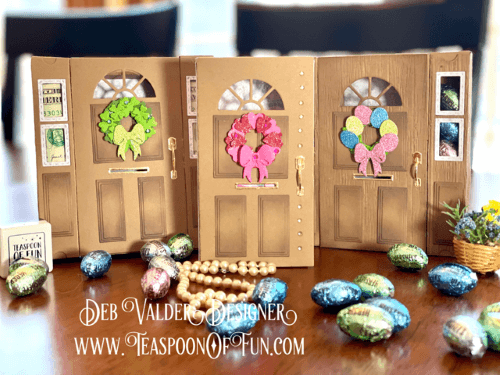
EASTER VERSION
Build a Pumpkin Die Set (for the leaves underneath the eggs)
Distress Oxide Ink – I used Ground Espresso
1/8″ Premium Double Sided Tearable Sticky Tape
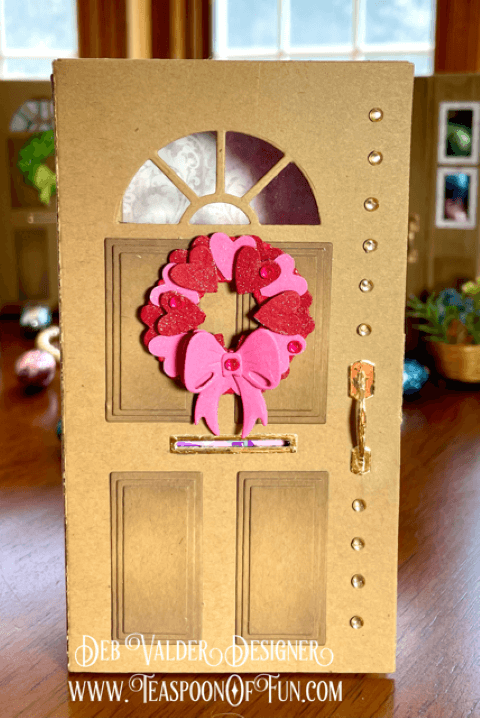
VALENTINE VERSION
Slimline-Hearts Background Die
Distress Oxide Ink – I used Ground Espresso
1/8″ Premium Double Sided Tearable Sticky Tape

This door can be so versatile for so many occasions. How about making one for someone who just moved into a new home? Graduation – opening the door to the next chapter. See….think outside the “door”. I just made a few Easter ones.
For this version I decided not to add the “sidelights”. I did put the transom (top window) in all of my doors.
Make sure you watch the video to show you the positioning of the transom.

Use the basic wreath from the kit and add hearts for Valentine’s Day or Anniversary.

CLICK HERE to get the Tiny Conversation Hearts.
For this version I did add the “sidelights” on both sides. I put the transom (top window) in all of my doors.
Make sure you watch the video to show you the positioning of the transom.
The panes for the doors are three layers and burnished with Ground Espresso Distress Oxide Ink.

The Easter eggs came from the Spring Accessories Die Set and I did use sparkle paper (listed above).
The wood look came from Deck Planks Embossing Folder.
Remember to watch the video (so important) and decorate your doors as your occasions pop up!
They are so much fun.
Change up the colors – be bold!
Fill your mail slot!
The piece I used on the inside of the box can also be used on the outside of the box for another layer to the door.
An absolute joy to make and give to friends and family.
Whether it’s a card or full on door, they are so pretty!
* * * * * * * * * * * * * * * * * * * * * *
Thank you for letting us come into your home and spend a little crafty time with you! It’s so much fun sharing what is such a passion. If we can ever help with any of your stamping needs, please reach out to us, we are here to help and teach, that’s what we love to do. It doesn’t have to be hard, it doesn’t have to be complicated, just fun and thoughtful. All products can be found in our Teaspoon of Fun Shoppe. Happy Crafting today!
Remember to share it, pin it, buy it and let us know what you think.
(((Hugs)))
* * * * * * * * * * * * * * * * * * * * * *
Welcome To Our Holiday Door
We have so many new products in the shop. Make sure you check it all out at Teaspoon of Fun. We have a small company but there is a lot of love put into it! Thank you for your support. Thank you for taking time out of your busy day to spend a little of it with us. If you have any questions, please let us know! In the meantime, take a few minutes and send someone you love a hand-stamped card with a little note in it. I KNOW they will love it! All products are listed in the menu below. Just click on the items you want and add them to your cart! It’s that simple! Thank you for supporting our small business.
Welcome To Our Holiday Door
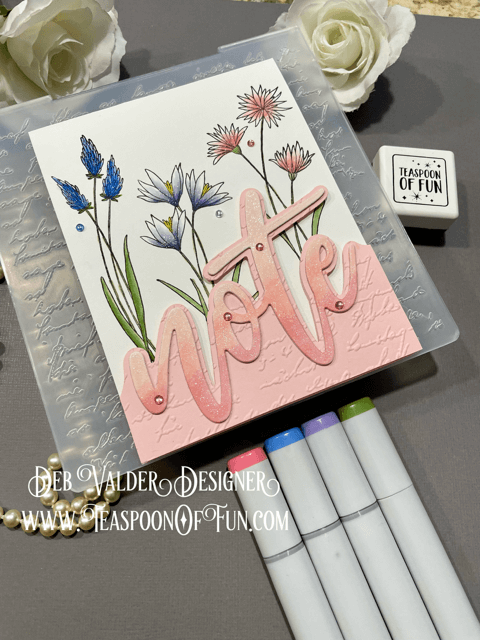
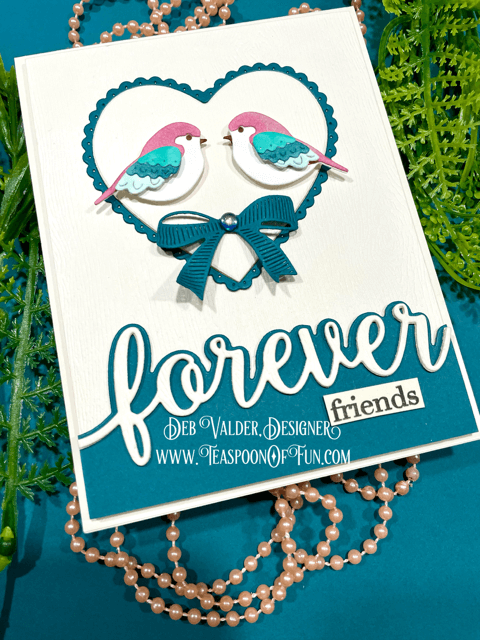
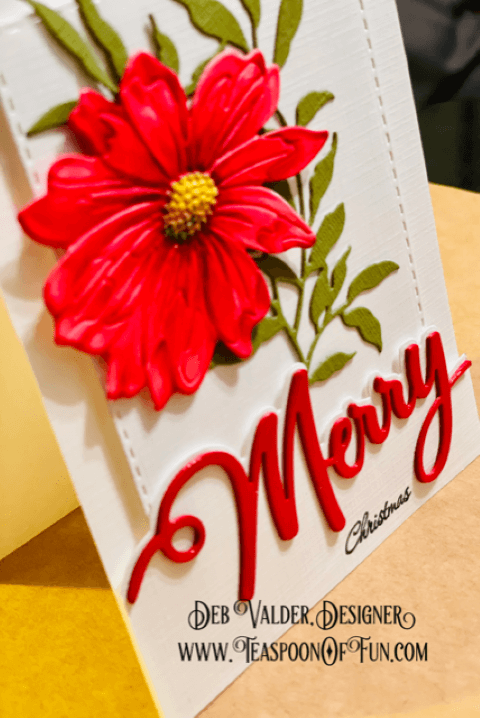
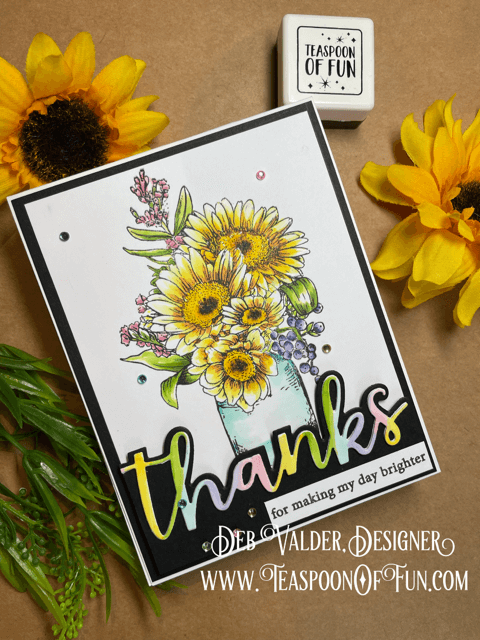
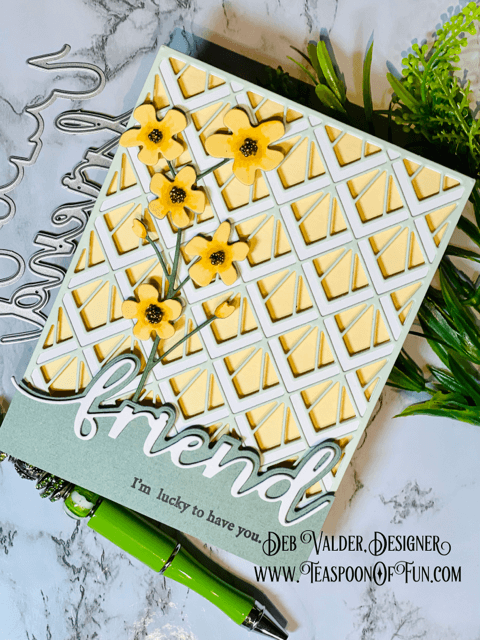
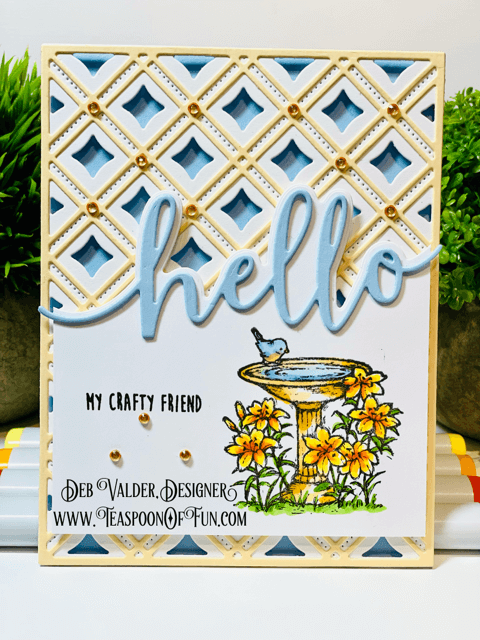
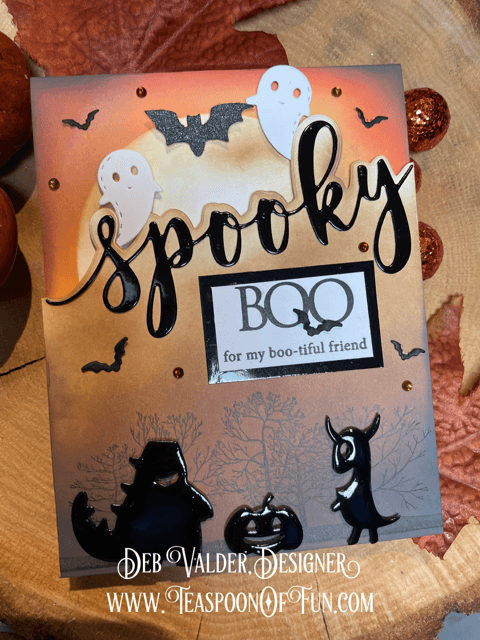
And here are more of our EDGER DIES we have in the shop. There are 16 edgers we have in the shop so far (we love these and keep getting more)…..

Click here to see the entire post for this card.
CLICK HERE to see the entire post for this card.

CLICK HERE to see the entire post for this card.

CLICK HERE to see the entire post for this card.
CLICK HERE to see the entire post for this card.

CLICK HERE to see the entire post for this card.
Click on the picture above or CLICK HERE to see the video for this card.

CLICK HERE to see the entire post for this card.

CLICK HERE to see the entire post for this card.
CLICK HERE to see the entire post for this card.
CLICK HERE to see the entire post for this card.

CLICK HERE to see the entire post for this card.

CLICK HERE to see the entire post for this card.
CLICK HERE to see the entire post for this card.
CLICK HERE to see the entire post for this card.
CLICK HERE to see the entire post for this card.
Please visit our shoppe, we are small, reliable and quick to deliver!
(and we are oh so cute :0).
* * * * * * * * * * * * * * * * * * * * * *
Some basic supplies you should definitely have in your craft room…..
* * * * * * * * * * * * * * * * * * * * * *
Thank you for letting us come into your home and spend a little crafty time with you! It’s so much fun sharing what is such a passion. If we can ever help with any of your stamping needs, please reach out to us, we are here to help and teach, that’s what we love to do. It doesn’t have to be hard, it doesn’t have to be complicated, just fun and thoughtful. All products can be found in our Teaspoon of Fun Shoppe. Happy Crafting today!
Welcome To Our Holiday Door
Remember to share it, pin it, buy it and let us know what you think.
(((Hugs)))
* * * * * * * * * * * * * * * * * * * * * *
Welcome To Our Holiday Door
We have so many new products in the shop. Make sure you check it all out at Teaspoon of Fun. We have a small company but there is a lot of love put into it! Thank you for your support. Thank you for taking time out of your busy day to spend a little of it with us. If you have any questions, please let us know! In the meantime, take a few minutes and send someone you love a hand-stamped card with a little note in it. I KNOW they will love it! All products are listed in the menu below. Just click on the items you want and add them to your cart! It’s that simple! Thank you for supporting our small business.
Welcome To Our Holiday Door

I participate in several affiliate programs. That means that I receive a commission when products are purchased through links here at this blog (at no cost to you). Please know I will never share or even review product that i would not personally recommend or that I do not personally like.
Leave a Reply