Using Foam On Your Handmade Cards
Hidy Ho Stampers,
November 13, 2021. Teaspoon of Fun has added some NEW items to the “Sidewalk Sale” and “One and Done” sections of our website. Make sure you check it out. Today we are bringing you a beautiful holiday card and incorporating some White Foam to it. Have you tried this? It really takes your card to the next level. Let’s take a look at what I picked for you today here…
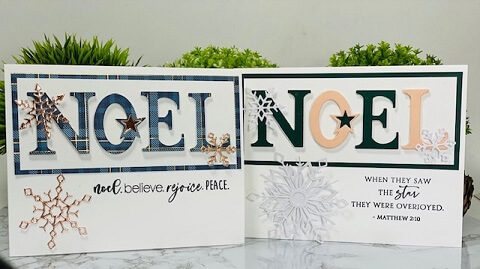
This card is unique because instead of using layers of cardstock to raise it I used White Foam Sheets.
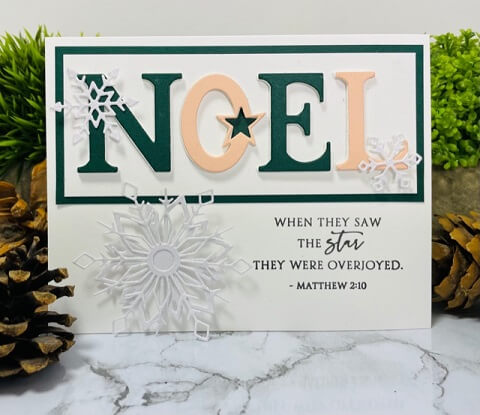
For this one I used a peach and deep green color. I love the look!
Iridescent White Glitter Paper
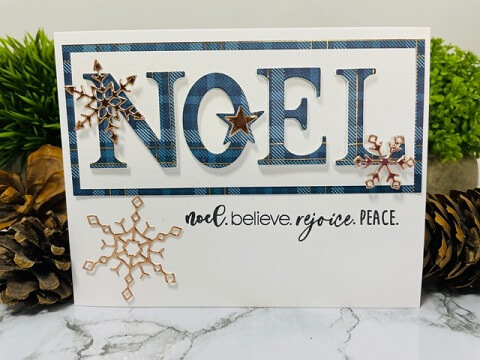
Our brand NEW 6 x 6 paper pack Woodsy Plaid.
Let’s take a look at a few details for this type of card…..
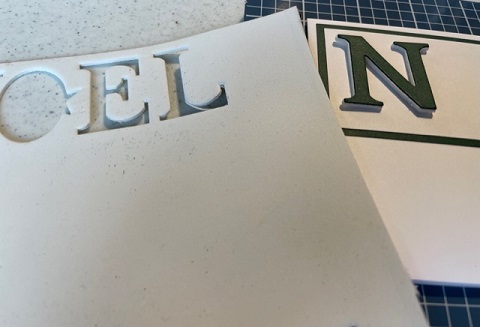
Cut your letters from the White Foam Sheets
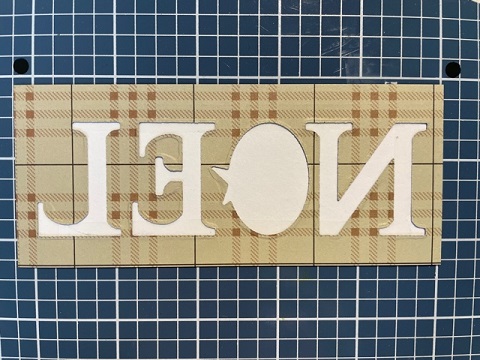
You know I’m always maximizing my supplies. With this card, I cut the words out of the designer paper which is the bottom layer for this card. You simply lay the white upper layer over the top and no one will know what you did! This saves so much paper for you. Then glue the designer Noel to the foam letters using our Deluxe Adhesive.
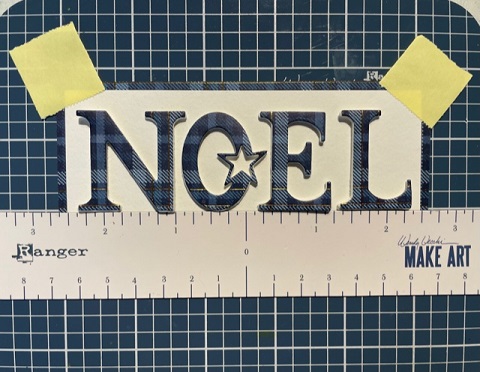
Now to line up your letters, what I found to be the best way is to get out your Make Art Station from our Teaspoon of Fun shop. Put our Sticky Note Tape to hold your background layer in place. Lay the letters down onto the layered piece. To get them straight, take the magnetic ruler that comes with your station and move it up slowly and just a bit so all the letters are even. I used the lines on the station to help me line up everything perfect. Now one-by-one lift a letter with our Tweezers and using our Deluxe Adhesive glue them in place.
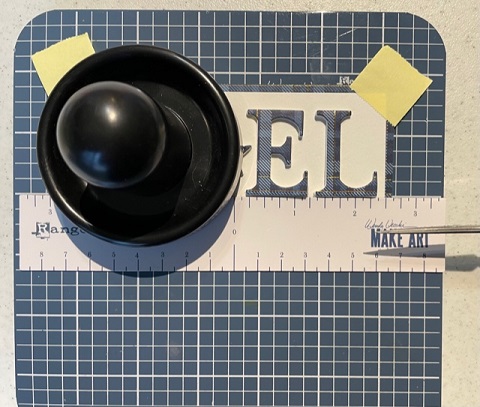
I also used my Stampendable to help them stick evenly.
Just rub it along the letters after you glue it down.
I did this after each letter I laid down. This tool is amazing!
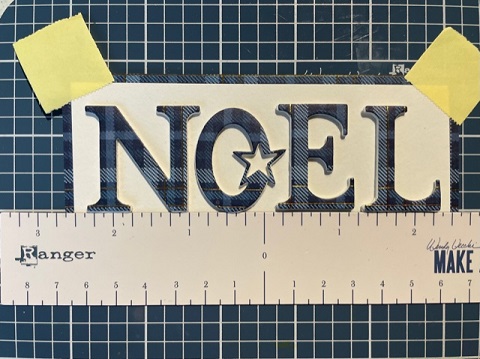
So this is what it looks like now…..
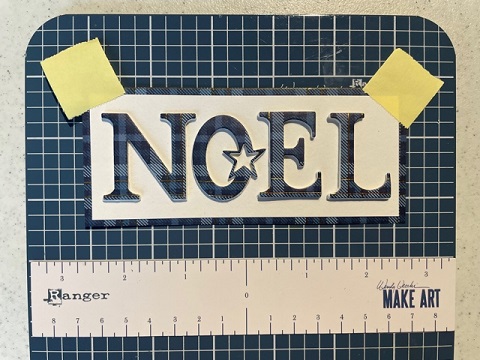
Take and move the ruler down and WAH LAH….it’s STRAIGHT!!
Order your Make Art Station here!

This is the green and peach piece!
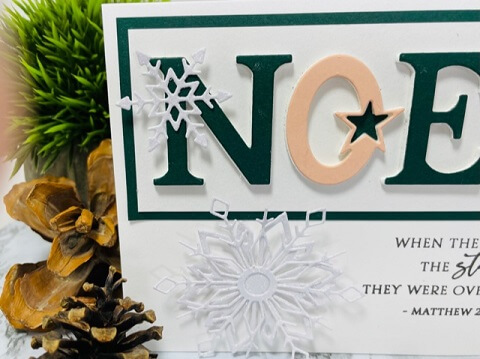
Using our Iridescent White Glitter Paper on the Elegant Snowflake Die.
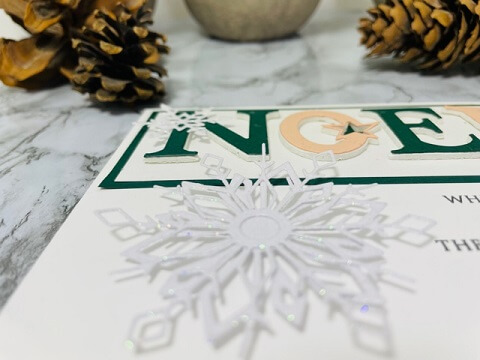
Look at that sparkle! EEEEK
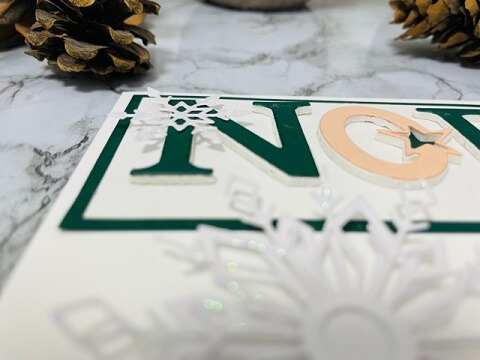
And here’s what the White Foam Sheets look like. To get this kind of dimension, you will want to use the foam sheets instead of layers and layers of cardstock like we do on our mini die-cut sayings. Click here to purchase your foam sheet.
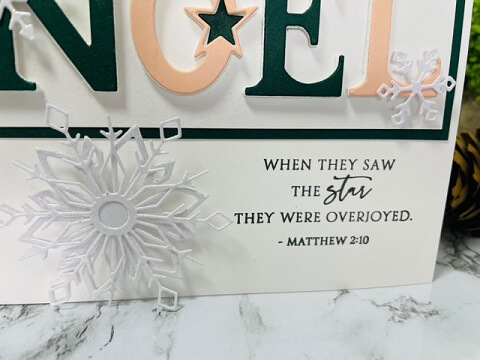
And using our Promise of Hope sentiment set is perfect for this card. It’s a lovely set.

Here is the Noel using our Designer Paper.
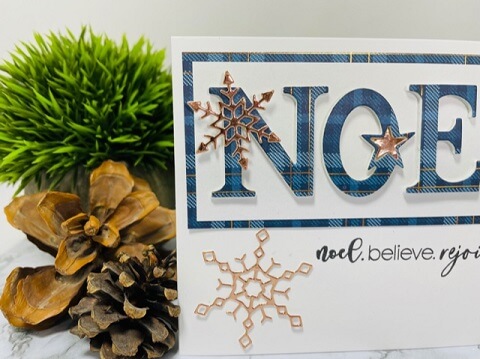
These stars were done using our Rose Gold Mirror Paper to match our Woodsy Plaid. The Woodsy Plaid paper has some Rose Gold color in it. It’s GORGEOUS!
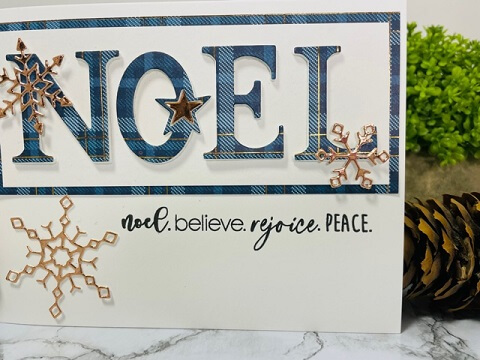
Here is another saying from the Promise of Hope sentiment set. It really is a lovely set.
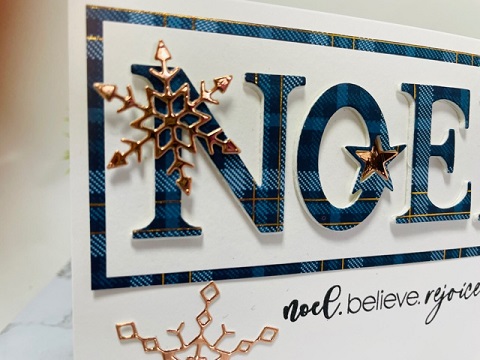
Look at the diemension the White Foam Sheets lend to this card. and the Rose Gold Mirror Paper.
YUMMY
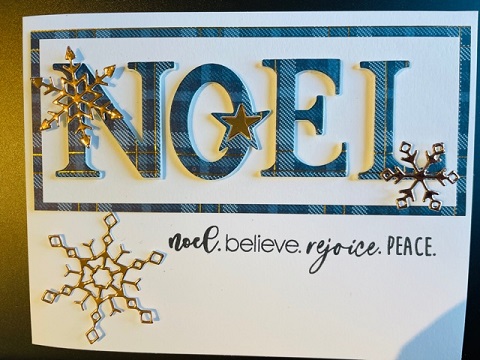
Breathtaking!!

This is the set that the snowflakes came from, it’s called Elegant Snowflake Die. It is one of our border dies found in the shop but it also has single snowflakes to go along with it. I love pulling pieces from other sets. CLICK HERE to see the entire post for this card.
Thank you so much for your time today. It means a lot to us. If we can ever help with any of your stamping needs, please reach out, we are here to help and teach, that’s what we love to do. We love that you let us come into your home and spend a little crafty time with you! It’s so much fun sharing what is such a passion. Happy Crafting today!
Using Foam On Your Handmade Cards
Remember to share it, pin it, buy it and let us know what you think.
(((Hugs)))
Using Foam On Your Handmade Cards

I participate in several affiliate programs. That means that I receive a commission when products are purchased through links here at this blog (at no cost to you). Please know I will never share or even review product that i would not personally recommend or that I do not personally like.

Genius as per usual!!
You are always so sweet! (((hugs))) my friend!