Spooky Spider Web and Stencil
Hidy Ho Stampers,
October 25, 2021. Today Teaspoon of Fun is brining you this “Spooky Spider Web”. It’s an adorably cute card using dies and a stencil. You all KNOW how much I love Halloween! Let’s take a look at what I picked for you today here…

We also sell Wink of Stella: Wink of Stella 3 Pack and Wink of Stella Refill
Low Tack Sticky Mat or Sticky Note Tape
Distress Oxide Inks (all links below)
For the web stencil I used Black Soot Distress Oxide

I love using stencils on my cards. You can control the amount of color you put on, you can mix, match and blend colors and you can use them over and over again!! The Spooky Spiderweb Stencil I used today is new in the shop. I just love it. I used it on the card base and burnished with my Black Soot Distress Oxide. Then for the card layer, I didn’t reink, I just burnished with the stencil and the ink that was left on my brush. This gave it a much lighter layer! I LOVE it!
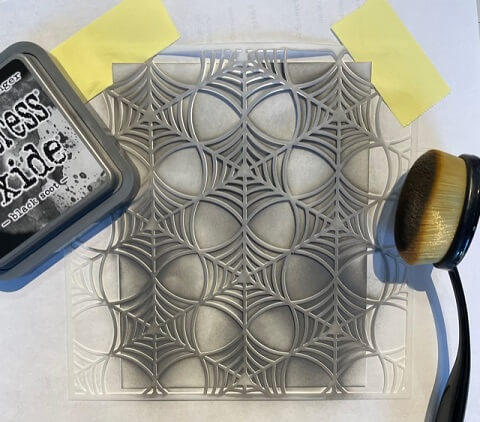
Use our Low Tack Sticky Mat or Sticky Note Tape to hold your stencil in place and burnish away II!
I LOVE the Low Tack Sticky Mat but if you’d like to save a little money you can always use the Sticky Note Tape.

This stencil does not have to be used for only Halloween. It’s a pretty pattern and with different inks, it’s going to look completely different!

As explained, I did the card base darker (shown here). Then on my upper layer I cut out a square from the Stitched Nesting Squares and lightly burnished that piece (cut this out BEFORE you stencil the lighter ink. I adhered it to my card base as show above.
Now let’s work on the upper layer and the spider web. Cutting it out…
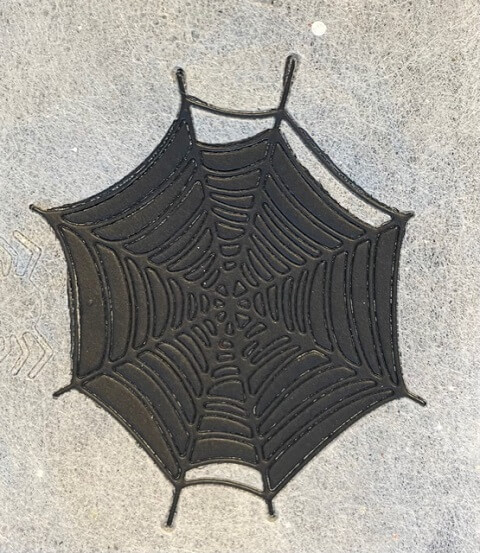
Don’t forget to use your dryer sheets for your detailed dies such as the spider web. This is always my “go-to” technique for these intricate detailed dies. Take a look at the video below which explains it. The order of the sandwich is dryer sheet, paper then die. Run it through your die cutting machine. The dryer sheet sticks to the paper when the die runs through the machine and makes it so much easier for the pieces to come out of the die and your cleanup is minimal. “Life altering!!!!” ha ha ha

When you lift the die, the pieces stick to the dryer sheet.
Here is the video…
Pretty awesome right?!
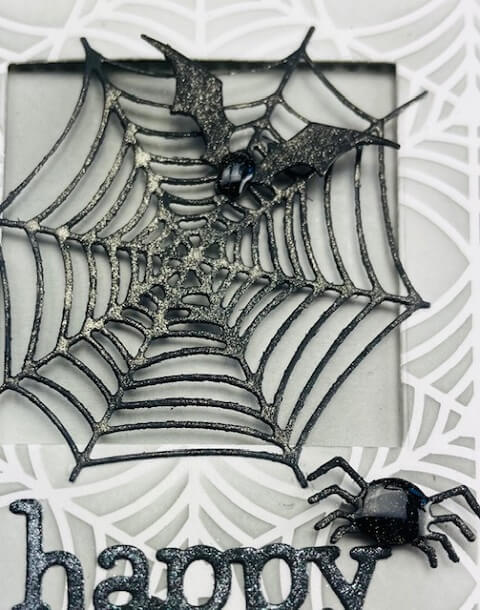
Cut out your Happy Halloween and your Bats. Now apply the Wink of Stella to the spider web, the Happy Halloween, the bat and spider. Put a little of our amazing Deluxe Glue (Precision Glue Press) onto the tips of the spider web and add it to the window of the cutout layer (remember the cutout was lightly burnished and put on the base card – this makes the spiderweb stand out even more. Add some of our Black Crafty Foam Tape to the top layer and center it on the card base. The patterns should line up but because one is lighter than the other, they compliment each other nicely!
Time to add your Happy Halloween, spider and bat to the top layer. I adhered the Happy Halloween and bat with our Deluxe Glue (Precision Glue Press) and the spider is adhered with one of our Black 3D Micro Foam Squares – it’s the perfect size.
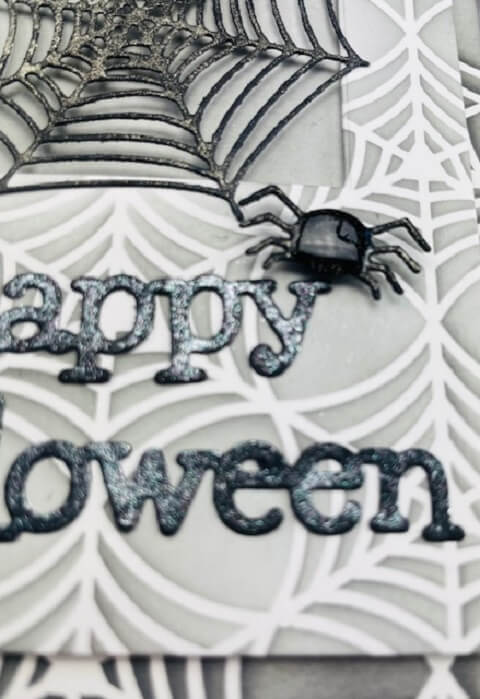
Now it’s time to add the Crystal Glaze to the body of the spider and the bat. OH MY GOODNESS!!!! It’s the fine details that just throw this over the top! :0)
This card is for my best friend. I love giving out cards. It just brings a smile to their faces! I’ve got all my grandbabies cards done. I LOVE LOVE LOVE Halloween! It’s just another excuse to send cards to the people we are thinking about!
Thank you for letting us come into your home and spend a little crafty time with you! It means the world to us! It’s so much fun sharing what is such a passion. Happy Crafting today!
Spooky Spider Web and Stencil

We just added more products to our Sidewalk Sale and the One and Done Sale – check back daily as we add more new stuff often.
Before I sign off today I wanted to show you two items I use and are in the links below (in the menu). These are not conventional items but can help with your organization and presentation.

The first is the way I am now storing my slimline stamps/dies/embossing folders. They are just refrigerator storage container units. There is a specific size I use. click here for the direct link.
Seriously these work for your slimline stamp/die storage!!!!
Then the next thing I wanted to show you is how I stand my cards up to display and to photograph. This one is not from the refrigerator, it’s used by florists. It’s called a frog, I’m not sure why, it doesn’t look a thing like a frog but that’s what they call it. Click here to check it out.
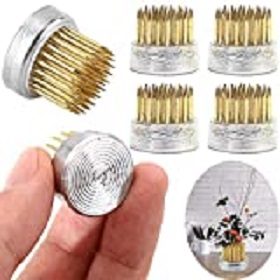
Remember, it doesn’t have to be hard, it doesn’t have to be complicated, just fun and thoughtful. All products can be found in our Teaspoon of Fun Shoppe.
Thank you so much for your time today. It means a lot to us. If we can ever help with any of your stamping needs, please reach out, we are here to help and teach, that’s what we love to do. We love that you let us come into your home and spend a little crafty time with you! It’s so much fun sharing what is such a passion. Happy Crafting today!
Remember to share it, pin it, buy it and let us know what you think.
(((Hugs)))
Spooky Spider Web and Stencil
* * * * * * * * * * * * * * * * * * * * * *

Click here to see what is available today.
![]()
Click here to see what is available today.
Spooky Spider Web and Stencil
* * * * * * * * * * * * * * * * * * * * * *
NEW KIT!!

Click Here to get your Lighthouse Combo Card Kit
Your kit includes:
Pre-cut card bases (brown) and layers, envelopes and twine to make 5 cards
and 3 rubber cling mount stamps
* * * * * * * * * * * * * * * * * * * * * *

CLICK HERE to get your Spring Magnolia Card Kit!
Your kit includes:
Pre-cut cardstock and card bases to create 5 slimline cards; 5 Slimline envelopes;
Magnolia Stamp; Welcome Spring Stamp
* * * * * * * * * * * * * * * * * * * * * *
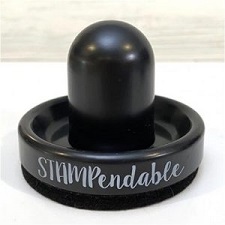
Get your Stampendable here

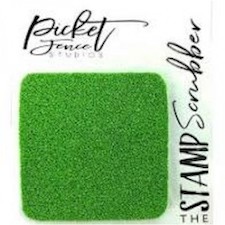
Get your ladybug today! Click here!
CLICK HERE to see the “how to use” video!
Spooky Spider Web and Stencil
We have so many new products in the shop. Make sure you check it all out at Teaspoon of Fun. We have a small company but there is a lot of love put into it! Thank you for your support. Thank you for taking time out of your busy day to spend a little of it with us. If you have any questions, please let us know! In the meantime, take a few minutes and send someone you love a hand-stamped card with a little note in it. I KNOW they will love it! All products are listed in the menu below. Just click on the items you want and add them to your cart! It’s that simple! At check out, you can use PayPal OR keep following the PayPal prompts until you get to the credit card section (you don’t need PayPal to check out – that’s just our processing company – we accept Visa, MC and American Express). Thank you for supporting our small business.
I participate in several affiliate programs. That means that I receive a commission when products are purchased through links here at this blog (at no cost to you). Please know I will never share or even review product that i would not personally recommend or that I do not personally like.


Leave a Reply