Nuts About You Valentine Treat
Hidey Ho Stampers,
January 28, 2025. Today Teaspoon of Fun is bringing you an adorable Valentine Treat for that special person in your life OR how about if you and your child make these for their friends at school. Check out our NEWEST products here: TEASPOON OF FUN NEW AND SEASONAL.
Head on over to Teaspoon of Fun for all your paper crafting needs
and share this site with your friends!
Let’s take a look at what I picked for you today…

Stampwheel (on sale today)
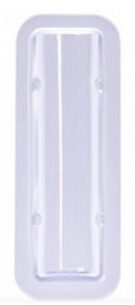
Lip Balm Window & Frame & Lip Balm Pouch COMBO
the combo comes with the window & frame plus a set of the pouches
you can also buy them separately or extra pouches if you need them:
Lip Balm Pouches – includes 10 pouches
You can also add the Tall Tag Duo and/or Tall Tag for another way to present the pouches.
Hybrid Ink (on sale today)
colors I used:
R27, R39, RV14, RV34, RV99
Booo, B00, B02, YG13, G85
E11, E15, E18, E21, E25, E29, E31
N2, N4, N6
* * * * * * * * * * * * * * * * * * * * * *
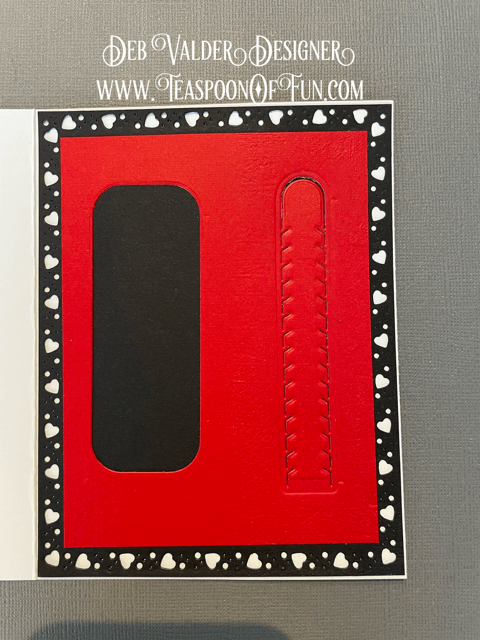
This card is pretty easy but really has that wow affect. Cut out and adhere the Lovely Border Hearts to your card base using the EZ Grand Tape Dispenser. To save paper, cut out the FRAME from the Lip Balm Window & Frame (I cut this out of this layer to save paper and to have it match this layer. Now adhere this to the Lovely Border Hearts layer. Open your card base (you DON’T want to cut the back layer so make sure it’s open) and cut the Rip Strip (I used the smallest one for this card). You are going to be cutting through 3 layers so make sure you run it through your die cutting machine a couple of times.

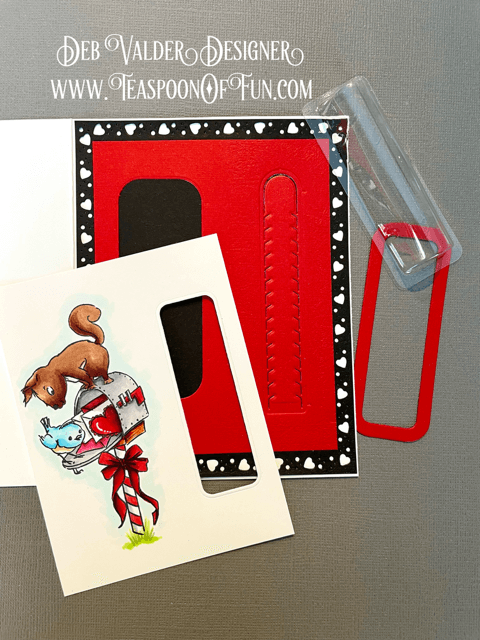
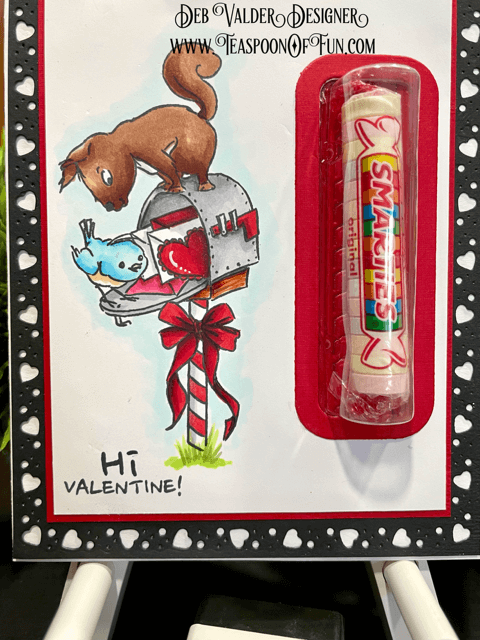
Stamp your image from the Nuts About You Stamp Set using the Stampwheel (on sale today) and Black Hybrid Ink (on sale today) on the LEFT side of your white layer and color it with Copic Markers. Now take the WINDOW die (the smaller one) and cut it out on the right side of your image. You now have the hole in the white layer using the window die and you have the frame (the larger one) cut out of red.
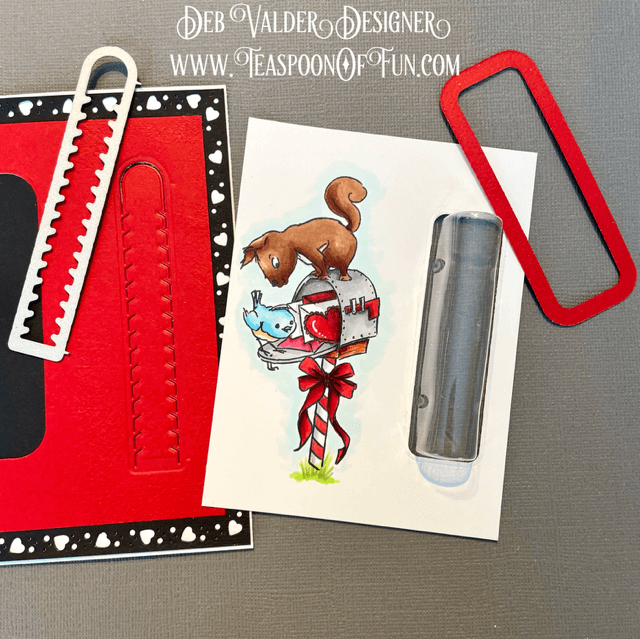
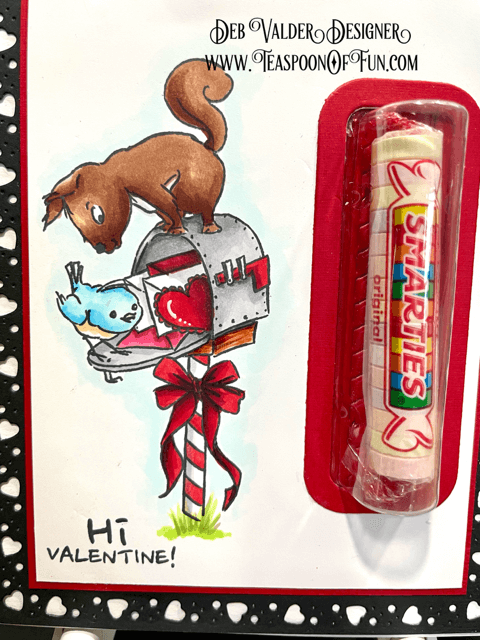
Attach the Lip Balm Pouch to the white layer using your Precision Glue Press – I added the glue to the back of my card and popped the Lip Balm Pouch into the hole.
Before you glue this layer to your card base, make sure you pop the treat into the pouch. I used my Precision Glue Press to the back of this piece and added it to the card base.
Here’s the Rip Strips Die Set to make your treat easier to get out of the card (otherwise you have to RIP the card apart to get the treat)

Rip Strips Die Set (two sizes)

Lip Balm Window & Frame & Lip Balm Pouch Combo
This is the starter set for the pouches and the die. You can also order MORE of the Lip Balm Pouches separately and you can purchase the Lip Balm Window & Frame separately .

Rip Strips Die Set (two sizes)
Lip Balm Pouches – includes 10 pouches

You can also add the Tall Tag Duo
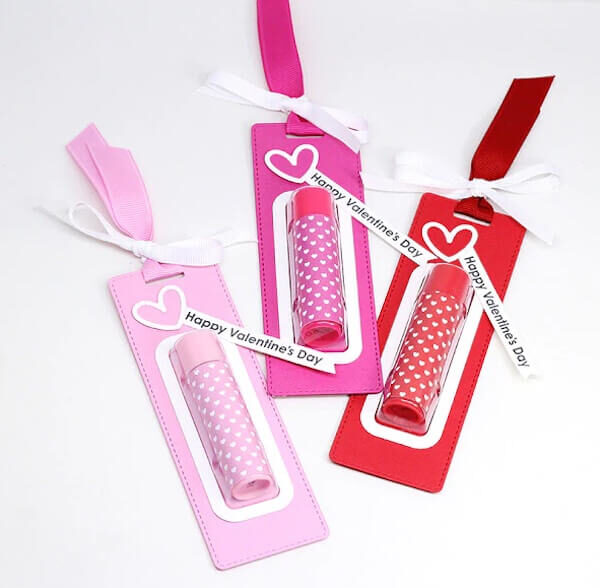
and/or Tall Tag for another way to present the pouches.
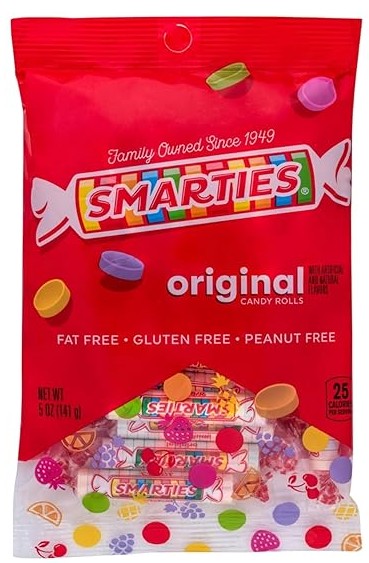
CLICK HERE to get your SMARTIES
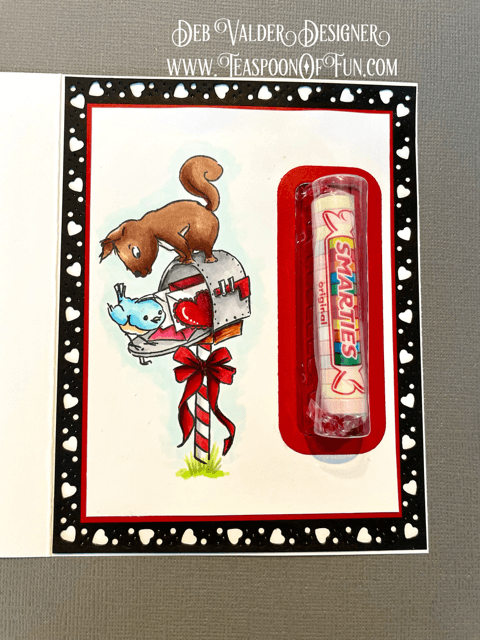
This is what the card looks like when it is open (remember NOT to cut the Rip Strip with the back closed!
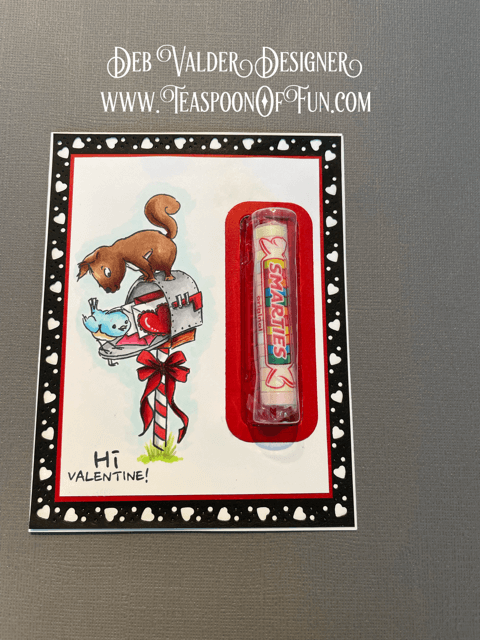
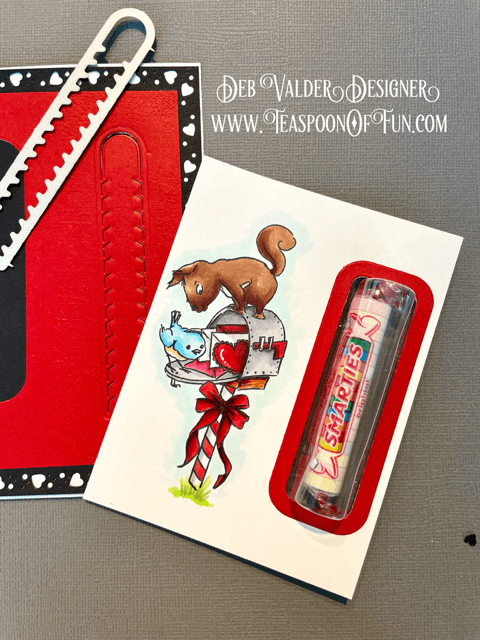
This is what it looks like when it’s closed.
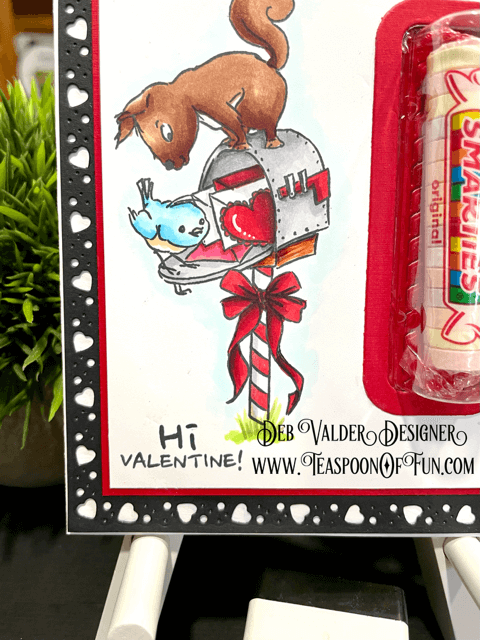
Color with Copic Markers
Close up!
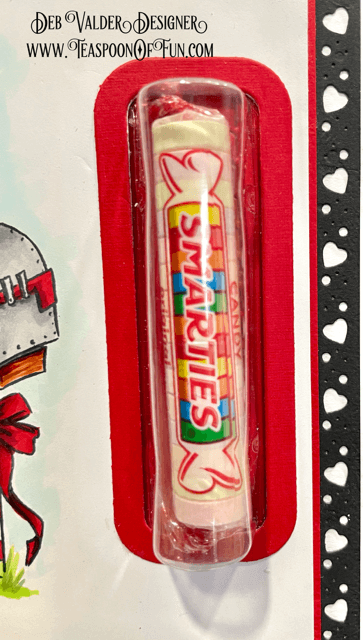
Added the smarties/conversation hearts/lip balm/money….whatever you can fit in there!

Fill it with Tiny Conversation Hearts.
CLICK HERE to get your Tiny Conversation Hearts.
Add your card to one of our A2 White or A2 Cream Envelopes and mail it off to your dear friend.

Holds Lip Balm
Lip Balm Window & Frame & Lip Balm Pouch Combo
CLICK HERE to see the entire post for this card and more instructions.

Holds Money
Lip Balm Window & Frame & Lip Balm Pouch Combo
CLICK HERE to see the entire post for this card!

Lip Balm Window & Frame & Lip Balm Pouch Combo
CLICK HERE to see the entire post for this card and more instructions.

What it looks like on the inside and outside.
CLICK HERE to see the entire post for this card.

CLICK HERE to get your Frozen Lip Smacker

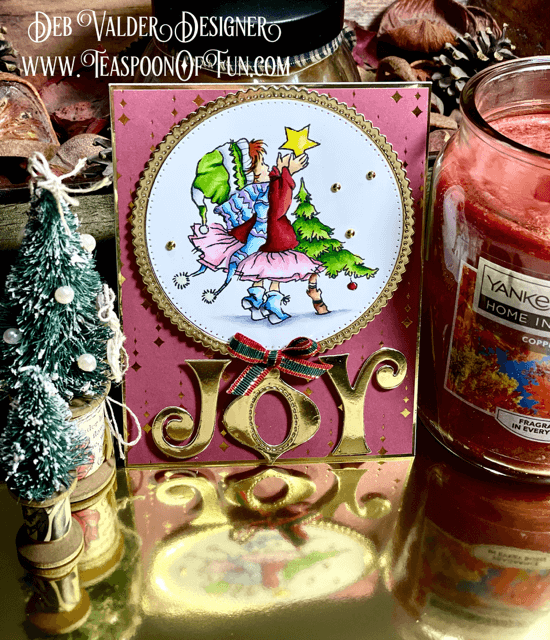
For this sample I used the Tall Tag Duo and Winter Magic Paper Pad to make the tag. Then I cut out the window for the pouch. I didn’t use the frame that goes around the lip balm for this card. You have the cut out and you have the frame that goes around it. You can use it or not. Use the Precision Glue Press to attach the pouch to the tag and the tag to the card base.
* * * * * * * * * * * * * * * * * * * * * *
Nuts About You Valentine Treat
Thank you for letting us come into your home and spend a little crafty time with you! It’s so much fun sharing what is such a passion. If we can ever help with any of your stamping needs, please reach out to us, we are here to help and teach, that’s what we love to do. It doesn’t have to be hard, it doesn’t have to be complicated, just fun and thoughtful. All products can be found in our Teaspoon of Fun Shoppe. Happy Crafting today!
Remember to share it, pin it, buy it and let us know what you think.
(((Hugs)))
* * * * * * * * * * * * * * * * * * * * * *
Nuts About You Valentine Treat
We have so many new products in the shop. Make sure you check it all out at Teaspoon of Fun. We have a small company but there is a lot of love put into it! Thank you for your support. Thank you for taking time out of your busy day to spend a little of it with us. If you have any questions, please let us know! In the meantime, take a few minutes and send someone you love a hand-stamped card with a little note in it. I KNOW they will love it! All products are listed in the menu below. Just click on the items you want and add them to your cart! It’s that simple! Thank you for supporting our small business.
Nuts About You Valentine Treat

I participate in several affiliate programs. That means that I receive a commission when products are purchased through links here at this blog (at no cost to you). Please know I will never share or even review product that i would not personally recommend or that I do not personally like.
Leave a Reply