Looking Glass Heart
Hidy Ho Stampers,
February 12, 2023. Today Teaspoon of Fun is bringing you another in our series of “Looking Glass” dies – this one is called Looking Glass Heart. Yes, I’m showing it off for Valentine’s Day but you can use it for ANY card! Let’s take a look at what I picked for you today…
Did you get our newsletter Wednesday? If not make sure you subscribe to our Teaspoon of Fun newsletter and it will come every Wednesday – It’s called “What’s New Wednesday”. There is a REAL SWEET deal in there! Don’t miss it, it will end on Valentine’s Day! Okay…. Let’s take a look at what I picked for you today…
CLICK HERE to see the video instructions for the basics on putting these Looking Glass cards together…
This video is for the nativity set but can be adapted to any of the Looking Glass sets in the shop.
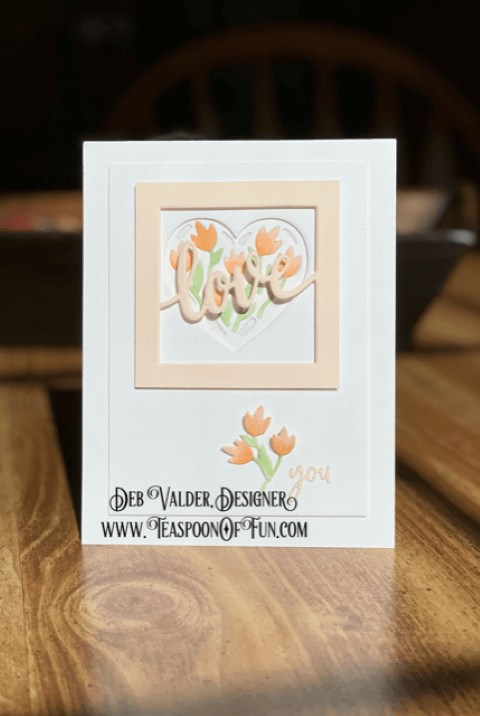
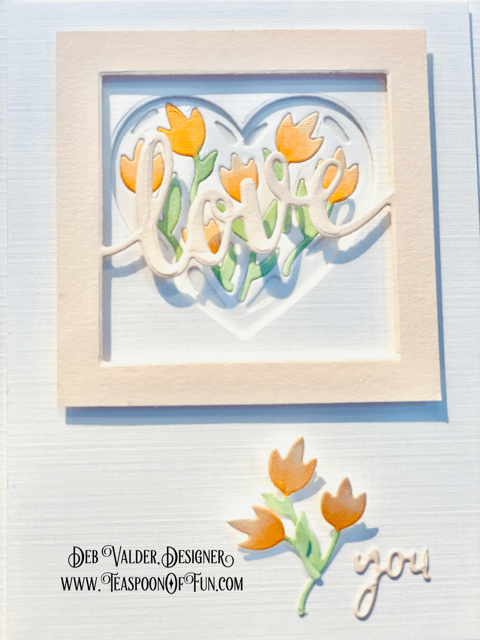
This card uses all three pieces of the looking glass die set.
I used:
Flower – YR00, YR12
Leaves – G21, YG17
Directions:
- I started with a piece of colored cardstock cut at 2 3/4″ x 2 3/4″ and cut out the word “love” (center the die in the middle of the square and cut).
- The next white layer is cut at 3 1/2″ x 4 3/4″. Lay the solid heart on that about 3/4″ down from the top and cut it out.
- Cut another piece of white cardstock 2 3/4″ x 2 3/4″ and cut out the flower heart. Take out the flowers and color them with your Copic Markers. On the back of the heart, put our 1/4″ Double Sided Tape so the sticky side is facing the flowers. Paper piece the colored flower back into the spots you took them from. The sticky tape will hold the flowers back in the proper spots. Take your Wink of Stella and color in the the spots that do not have flowers. This will make them shine and relieve the stickiness.
- Cut another flower heart, color the flowers. We will use those flower for the bottom bouquet.
- Cut the word “you” from the Doodle Thank You die.
- Now we have all the pieces cut, let’s put this card together
- We will work from the top down. Put White 3D Foam Strips around the Love frame. Center that around the heart that was cut from the 3 1/2″ x 4 3/4″ piece.
- Use your White Thin Foam Squares and adhere this layer to your card base.
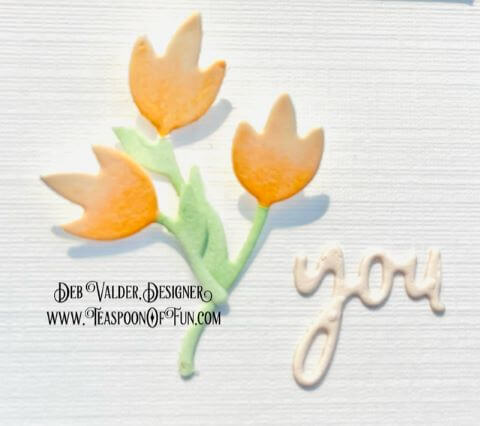
Take the extra flowers, color them and adhere them to your piece with Deluxe Adhesive and White Micro Foam Squares. Next take the word “you” from the Doodle Thank You and adhere that next to your mini bouquet.
That’s it for this card. These Looking Glass dies are amazingly easy to use.
I love the Looking Glass Heart.
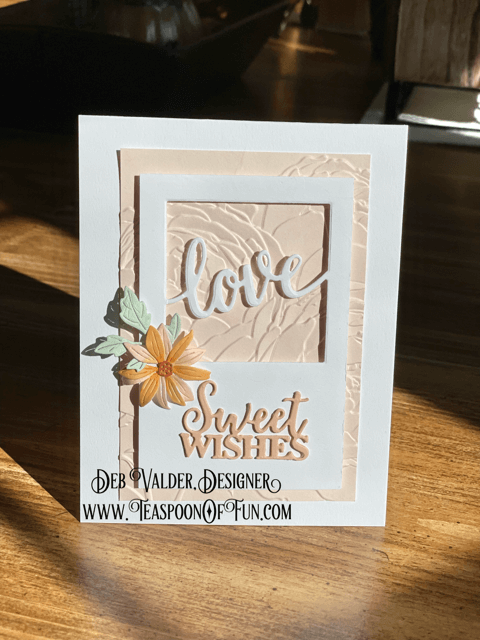
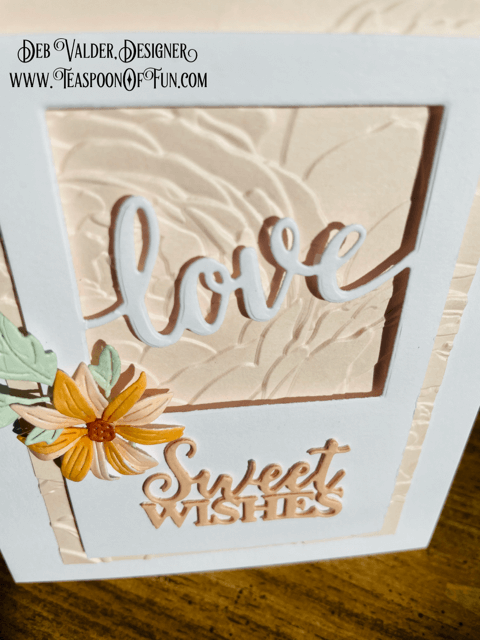
These Looking Glass Dies are the kind you can use all the pieces, you can use just one or two of the pieces or mix and match with other “Looking Glass Die” sets. I love the way this one came out. I only used one piece and paired it with other things I have in the shop.
I used:
Flower – YR00, YR12
Leaves – G21, YG17
EZ Grand Tape Dispenser
Directions:
- I used the “love” from the Looking Glass Heart set and cut that from a white piece of card stock that measures 2 3/4″ x 4 1/4″.
- I ran a piece of colored card stock that measures 3 1/4″ x 4 3/4″ through my BRAND NEW Ambridge Bouquet embossing folder (make sure you spritz the card stock with our Mini Mister before you run it through your die cutting machine).
- Adhere the embossed layer to your card base with your EZ Grand Tape Dispenser.
- Add the Love layer with White 3D Crafty Foam Tape.
- I used our White Micro Foam Squares and put a few under the word love so it doesn’t “sink” in. You just need a few.
- I used Copic Sketch Markers to color the Lucky Layered Flowers and Orchard Leaves. I adhered them to the white “love” piece with Deluxe Adhesive.
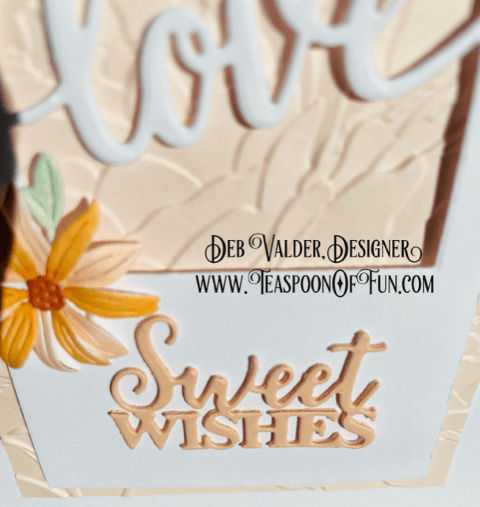
- Cut three sets of Sweet Wishes.
- Adhere them together with the Deluxe Adhesive and then to your card layer.
- It’s another super simple card to create.

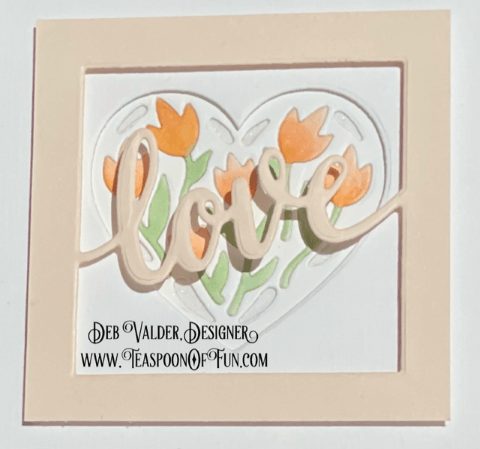
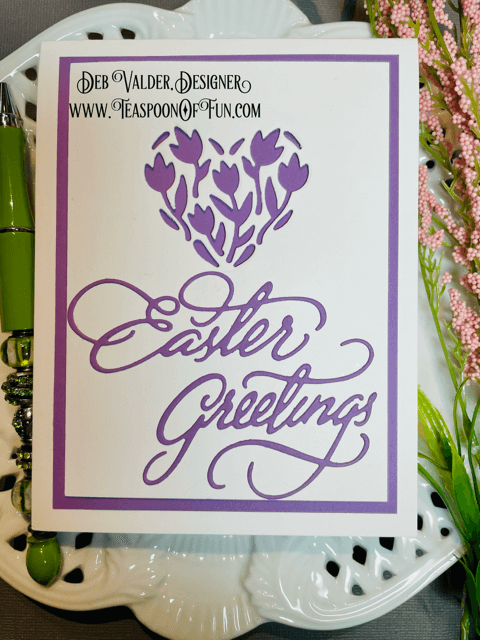
Now let’s get a head start on some Easter Cards using this Looking Glass set….
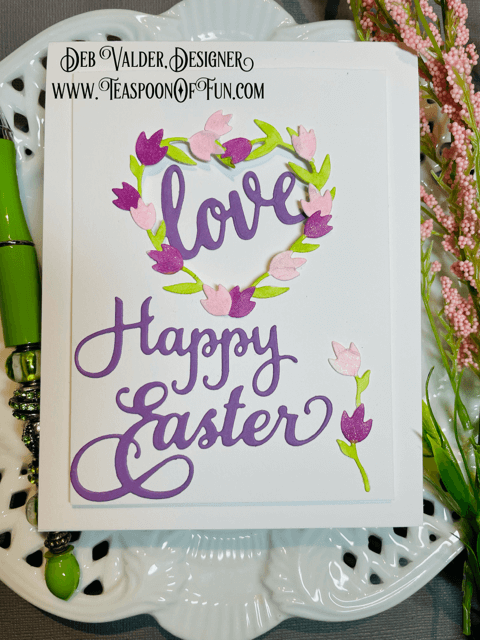
Remember when you cut out the tulip heart, the tulips are the pieces that fall out. So let’s take a look at this card and what I used to get this look.
I used:
Flowers – RV10, V06
Leaves – YG03, YG63
EZ Grand Tape Dispenser
Directions:
- Cut out a layer that measures 3 3/4″ x 5.
- From that piece, cut out the solid heart.
- Take a scrap piece of white card stock and cut two of the “tulip” hearts out. This is where you will get the tulips for this card.
- Color the tulips and adhere them to the cut out heart with the Deluxe Adhesive.
- Cut out the Happy Easter Die and adhere it with the Deluxe Adhesive.
- Add White 3D Crafty Foam Tape to the back of this layer. Do not attach it to your card base just yet.
- Cut a piece of of colored card stock that measures 2 3/4″ x 2 3/4″ and cut out the LOVE from the Looking Glass Heart set.
- Add this to the back of the Happy Easter layer.
- NOW attach this piece to the card base.
- To finish your card, add Wink of Stella to the tulips.
EZ Grand Tape Dispenser
Thank you for letting us come into your home and spend a little crafty time with you! It’s so much fun sharing what is such a passion. If we can ever help with any of your stamping needs, please reach out to us, we are here to help and teach, that’s what we love to do. It doesn’t have to be hard, it doesn’t have to be complicated, just fun and thoughtful. All products can be found in our Teaspoon of Fun Shoppe. Happy Crafting today!
Remember to share it, pin it, buy it and let us know what you think.
(((Hugs)))
* * * * * * * * * * * * * * * * * * * * * *
Looking Glass Heart
We have so many new products in the shop. Make sure you check it all out at Teaspoon of Fun. We have a small company but there is a lot of love put into it! Thank you for your support. Thank you for taking time out of your busy day to spend a little of it with us. If you have any questions, please let us know! In the meantime, take a few minutes and send someone you love a hand-stamped card with a little note in it. I KNOW they will love it! All products are listed in the menu below. Just click on the items you want and add them to your cart! It’s that simple! At check out, you can use PayPal OR keep following the PayPal prompts until you get to the credit card section (you don’t need PayPal to check out – that’s just our processing company – we accept Visa, MC and American Express). Thank you for supporting our small business.
Looking Glass Heart

Leave a Reply