Good afternoon ladies,
I just wanted to let you know that the new punches are not to be afraid of! Just go ahead, jump in and use them. Yes, they do take a little getting used to but they are a lot of fun! I did quite a bit of research on the internet, watched videos and found what works best for me! So here it is…
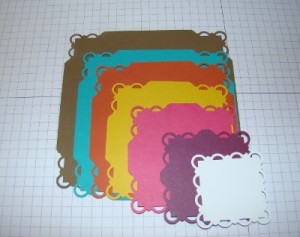
To do the squares –
1 15/16” square
2 3/8” square
2 7/8” square
3 ¼” square
3 13/16 square
4 ¼” square
4 ¾” square
To do the rectangles –
Just take one of the above measurements for the sides and one of the measurements for the top and bottom and put them together to create the size rectangle you will need for your project.
Okay, so here are some visuals:
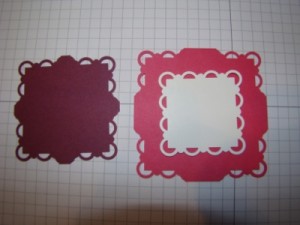
The first thing you want to do is to punch all four corners with the CORNER punch.
Now you have to punch the "flat" spot in between the corners except for the smallest square (1 15/16") which is complete after doing the four corners. This small 1 15/16" square fits perfectly with the 1 3/8" square punch and the 1 1/4" square punch.
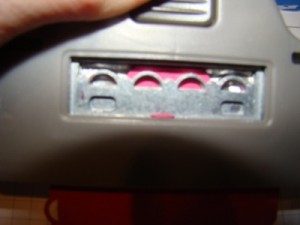
Use the matching BORDER punch and line up the holes on the left and rigtht so you can't see them. The only thing you will see is the cardstock in the middle that needs to be punched out. Do this to all four sides. Here is what it looks like when you line it up. It's blurry because that is what it looks like when you are over 50! There's nothing wrong with the camera!
RECTANGLES:
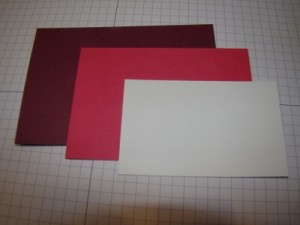
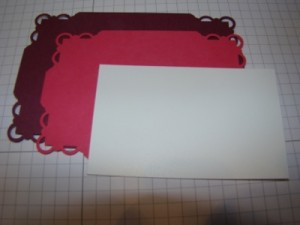
These are done exactly the same as the squares. As I mentioned above, to figure out what measurements you need to make your rectangle, you want to select the side measurement and the top/bottom measurement from the square measurements and cut your rectangle. Then begin by punching the corners.
After punching the four corners then continue with your borders. Add your top layer to fit inside the punched borders. Play with it until you get it…it's really fun and just beautiful!
And that's it, I hope this helps. Enjoy your day.
Deb – thanks so much for this. As I said the other day it took me a long time to just get the two I did right…..