Hi girls,
Okay so I'm the last demonstrator in the WORLD to update her blog. Well I've been busy…getting things ready for you! I can't wait to show you what I've been working on. But that will be in just a minute.
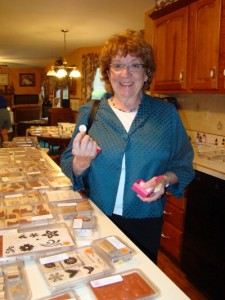
My Annual Stamp and Accessory Sale went so fab-tab-ulous. I was with wonderful friends all day and we laughed and visted and they went home with some great bargains. Now my shelves are clear for my first order to hit the front porch (I will be making my UPS man a card with some cookies)! He just loves me!!! And for those of you that attended, the winner of the GOLDEN NUGGET was….
Pat!
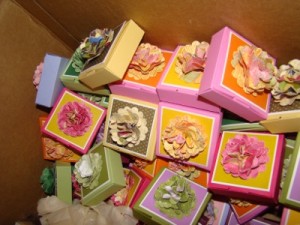
YIPPEEEE….she was the one that won the golden nugget. All friends that attended the 10th Annual Open House received a beautifully decorated box with product inside plus a hug and a kiss from me (a HERSEY Hug and Kiss that is); then ONE lucky friend received the box with the GOLDEN NUGGET just like in Willie Wonka!
This is the Bitty Box and Envelope Die (#115967) from the 2010-2011 Stampin' Up! Idea Book and Catalog with the scallop punch flowers for the top. I made 50 of them and they were all gone by the end of the day!
Pat is seen here holding the nugget and the box. When she comes to club, she will see what she has won! So stay tuned.
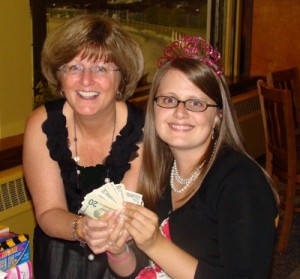
Next I wanted to share with you Katie's 21st Birthday (my baby). We celebrated by going to the Saratoga Gaming and Raceway (voted the most beautiful quarter mile track in the US). It was so much fun and she had NOOOOOOO idea it was happening (I LOVE SURPRISES)! So we started off the evening with a buffet in the club house. They put the VIP princess and her party in the best seats in the house! We were overlooking the track and got to see every race and watched the sunset all at the same time. It was gorgeous. Here's a picture of Kate and I (and yes she was a winner and I don't mean that because she was wearing that tiara)…
Kate and I
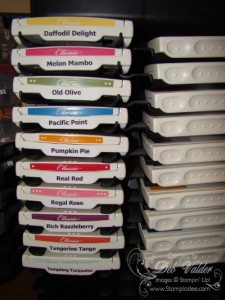
So that is my family update for today…now for more stamping news…Look at how I reorganized my new stamp pads…
How do you like that, even I can see the names! So how did I do it?
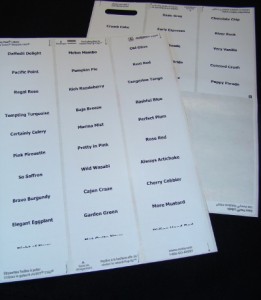
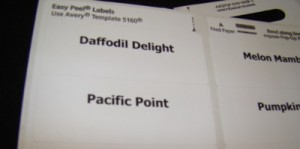
First I printed out all the colors on label sheets (Avery 5160). I've made a pdf file for you to downlaod onto your labels. Click on the picture BELOW to download the pdf file (phew I did all the hard work for you!).
Click the picture above for the file.
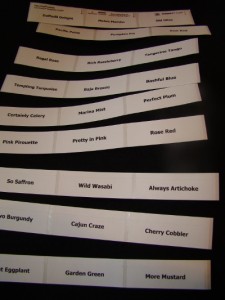
Next, you will need to cut the labels into strips with your Stampin' Up! Fiskars Cutter (# 104152) so your punch will fit.
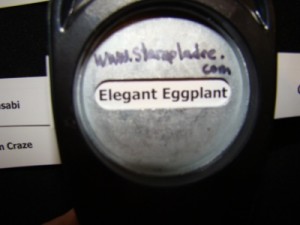
Next, take your Word Window Punch (#119857) and punch out each label. You are now ready to attach them to your stamp pads. Because they are printed on labels, you just peel and stick – "get out of town" yes, it's that easy!!!!! WAH LAH…you are done.
Hope you enjoyed my post today. See you tomorrow, enjoy your day and thank you for stopping by my blog.
Deb it is 8AM on the 4th of July and I downloaded the pdf file! THANKS YOU SO MUCH for all the work putting this together!!!!!!!!!!!!! Now all I need is all the ink pads – sure you can take care of that……..Have a GREAT 4th day. Cheryl D.
I almost forgot to wish Kate Happy 21st! I can't believe she is so grown up and looks so much like you – lucky gal.
Hi Deb, You have such a beautiful daughter. Looks just like her mother. Thanks for all your beautiful card projects. You are the best!!!! Lol
Darlene K
Thank you so much Darlene. I hope you got to see some of my more recent projects. Katie is now 26 so that was 5 years ago! Please stop by often and thank you for leaving me a note. :0) If you have any questions, let me know. Deb http://www.stampladee.stampinup.net for all your shopping needs.